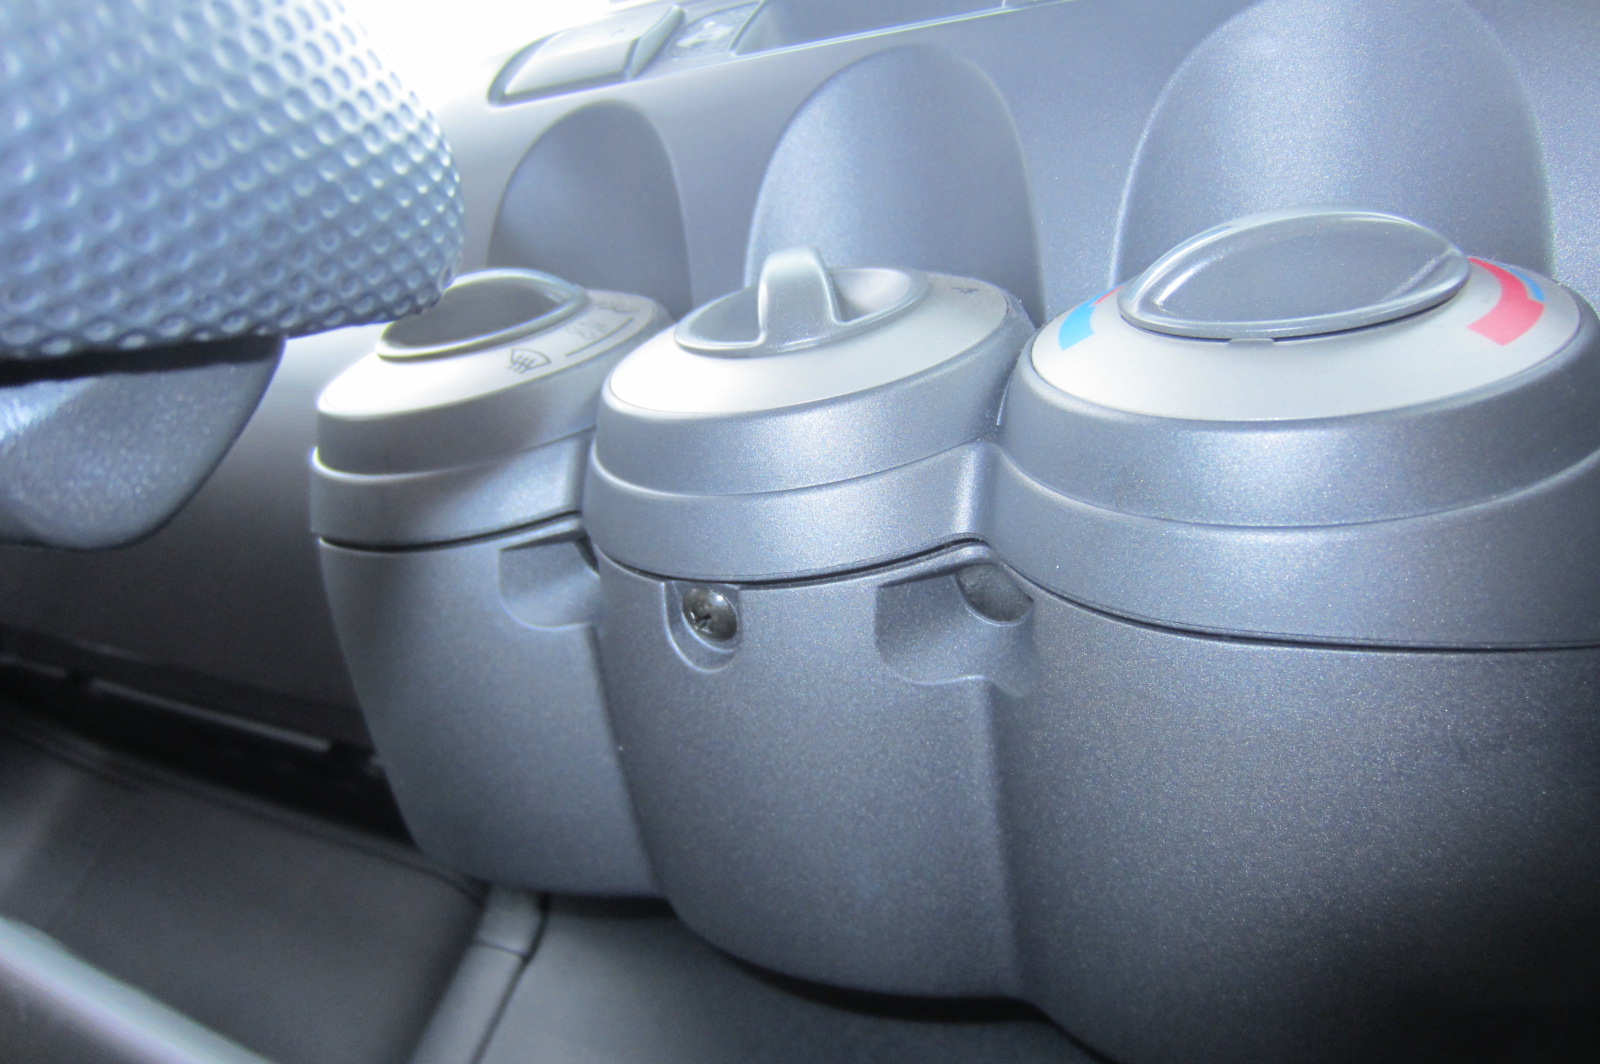
I was quite surprised that even in 2004 a simple Aux input was not provided in this car (a Honda Jazz). Just beneath the cigarette lighter there is a blanked off port which was intended for a 3.mm type input. Seems in the states (Honda “Fit”) this was installed but in my UK model it is missing, despite the presence of an Aux button on the head unit.
Browsing the web there is quite a bit of good info out there on how to add an Aux input to the radio unit. There is some variation between different years of Jazz but it’s all pretty much the same. Eventually i got bored listening to the radio and decided to sort this situation out! Ideally i want to play music on my phone, and i don’t really want to use a 3.5mm cable from it to the head unit anyway. What i wanted was bluetooth.
First i got the electronics sorted out and tested it. I bought this bluetooth music receiver off eBay, looks identical to a Belkin unit but without the branding and about half the price (about £15).

Opened the chassis and removed the tiny pcb inside. This board is powered by +5V, is able to pair with a Bluetooth audio device and output high quality audio on a 3.5mm audio jack.

Something is needed to convert the 12V available in the car to 5V needed by the bluetooth music receiver. I decided to use a little DC-DC buck converter also from eBay, these are dirt cheap (even cheaper now than when i got it, about £1.70 delivered!!). At this price it’s really not worth building something out of linear regulator, 7805 or whatever. This unit has adjustable output voltage and high efficiency, minimal heat generation. I was a little concerned that some switching noise might find its way into the audio path but as it turned out, no problem with this.

The 3.5mm output was desoldered and wired up to a headphone jack. Powered by the 5V supply i paired it with my iPhone, and voila the little blue light showed all was well (as you would expect). Sound quality is certainly respectable, and good for this car where the speakers aren’t likely to do justice to better sound quality anyway.

There are more and more Bluetooth modules popping up on eBay at great prices, offering varying levels of flexibility.
Sure Electronics have a few, some are bare BT modules and others have this module mounted on a board with regulator, what looks like an op-amp and output stage. I have been told by Sure electronics that this one has the best sound quality:
However what has caught my eye is this newer device which promises an I2S output. Now that can get paird wit han external DAC for total flexbility and best sound quality:
Paired with something like this ES9023 DAC module, must be a nice solution….
Many of these modules have pins to connect an external mic. So for those wanted more than just music playback there is a scope to potentially have two way comms using your phone.
Anyway, i digress, back to the install.
Now that the electronics were sorted i set about putting this in the vehicle. A number of guides exist on how to do this. Of particular note this rather helpful guide:
Following this, starting with the screw under the heater/AC controls:
And pulling away the bottom cover:

Removing two more screws with an 8mm hex wrench which are tucked up inside if you look from below you’ll see them, one on each side.

This is all you need to do to then unclip the radio unit from the front fascia. It can be stiff, be firm but careful, there are 6 or so clips holding it on.
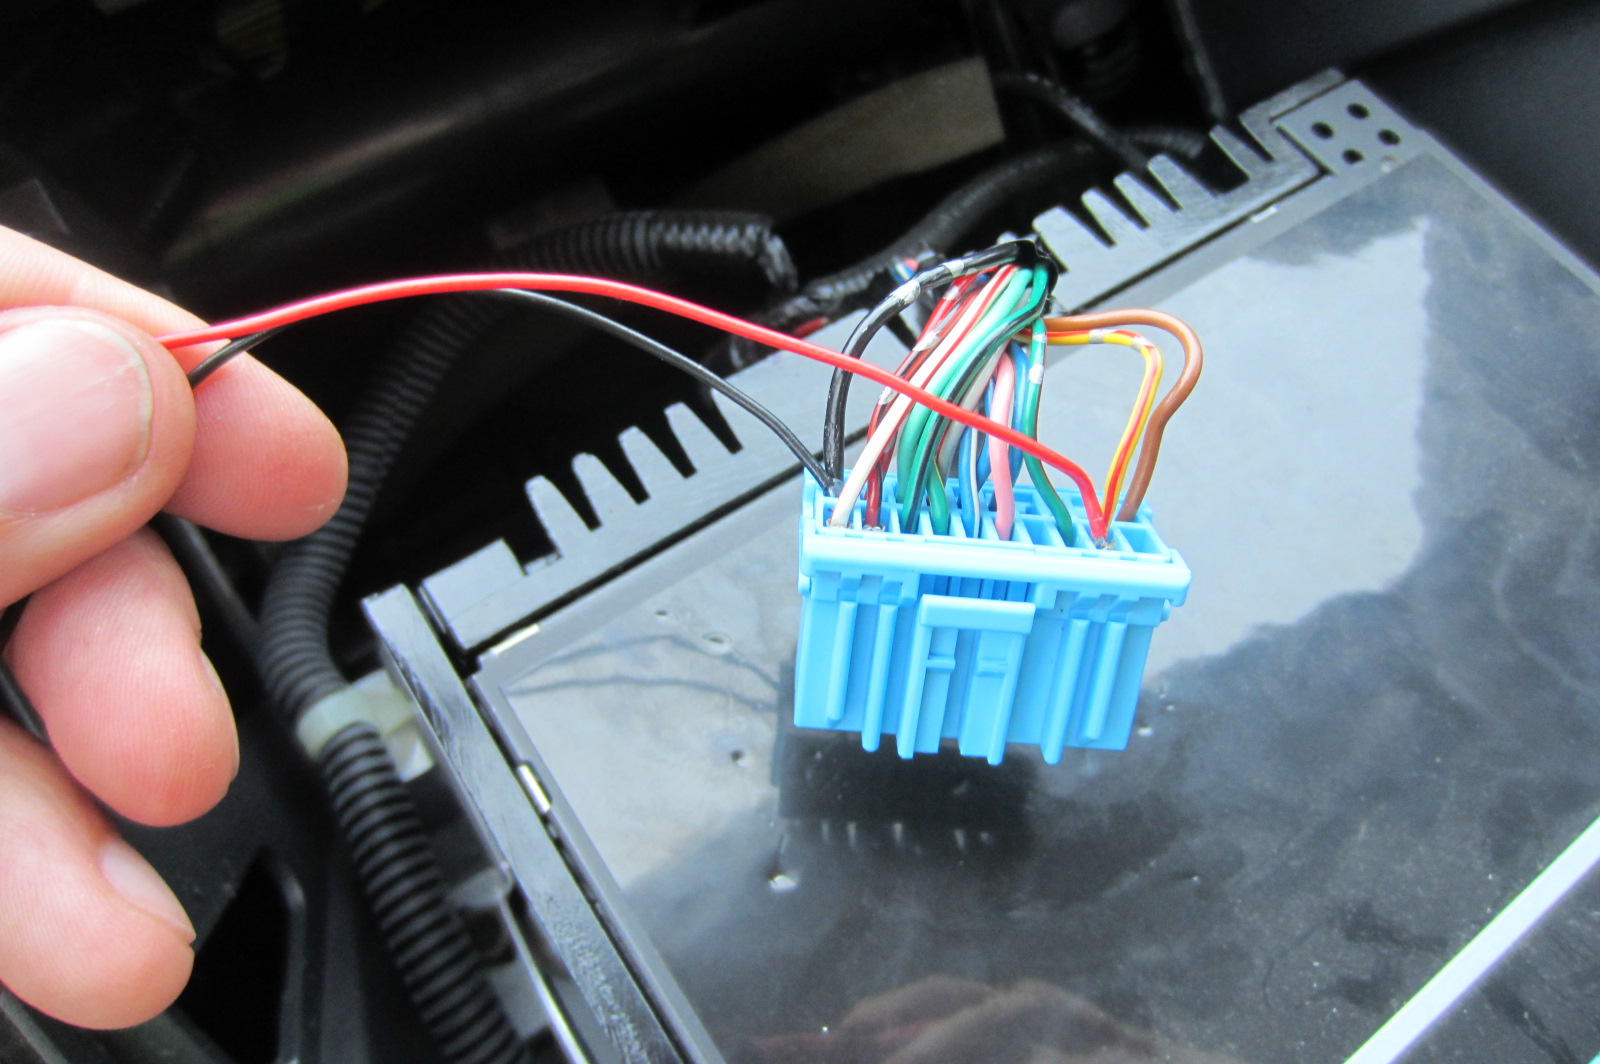
Once it comes away you’ll have access to the rear connectors. Remove the main blue one:

Using the multimeter and with reference to the internet:
I found the pins i needed: Black (GND)

And Yellowy Orange with Red stripe (+12V ignition controlled):

Now the hardest part, getting the damn pins out. I didn’t want to splice my the cable, or put a tap on. I wanted to keep the wiring harness in tact and solver on thin wires onto the metal connector that clip inside the plastic housing. It isn’t easy getting these out, eventually i used a tiny “for spectacles” screwdriver pushed in far. The ground managed to come out fully, the yellow/orange only half but was enough to get my wire soldered on. There is obviously some special tool and/or technique for getting these out but without any clear access hold for insertion of a screwdriver to release the clip, these honda connectors are more tricky.
Having soldered on wires and reclipping the connectors in the housing. These are to power the Bluetooth module.

Now for the audio. The rear of the radio looks like this:

The green connector is the interface for the Aux in. You need to use 5 of the 6 pins (pin 2 and pin 6 are both ground).
Pin 1 needs connecting to Pin 2 to enable Aux input on the head unit (the button now does something).
Pins 3, 4, 5 are Right Audio, Signal Ground, Left Audio respectively.
Pin 6 is unused.
A connector was created from this 2.54mm pin spaced strip i already had, a proper connector where you solder on and insert the pins can obviously be used but is more hassle.

The BT module and power supply were attached to piece of stipboard ready for insertion into a plastic casing (old toothbrish holder!). The audio connector is soldered on the BT module where the output jack would have been.

And connected up the audio connector to the back of the radio and power supply to the +12V and GND wires coming form the head unit:

et Voila! Press the aux input on the front of the radio, pair up the iPhone and music duly comes hence forth. The blue light indicates pairing and the sound quality in the car certainly good.
All that remains is to tuck the adapter down the back, cable tie it somewhere (i attached it under the radio on the side metal).
Clip the radio back and re-screw the screws.

Google sent me here, thanks for this great guide.
I’m trying to do something similar but a bit more basic – add a cable into the aux to allow for a 3.5mm audio jack port in the car.
The big stumbling block for me is finding a connector to fit into the green port. I’ve been searching for six pin connectors and they all have two layers of pins, I would appreciate if you could direct me on how to get hold of one that would work here. Do they have an official name? I’ve tried Maplin but no luck.
Thanks!
Not sure what connector it is, i guess some fairly uncommon one.
All you need is some of the connector strip i used with 2.54mm spacing. It’s quite common, number of options out there for connectors with this pin spacing but i used something like this.:
http://www.ebay.co.uk/itm/PCB-Header-Connectors-2-54mm-Various-Sizes-1st-Class-Postage-/291102073402?pt=UK_BOI_Electrical_Components_Supplies_ET&var=&hash=item43c709223a
Then make up your own connector like i did and solder on the wires from the audio jack cable – right signal, signal ground, left signal and join the other two pins together.
It will slot onto the pins of the green connector just fine.
Brilliant, thanks for the help.
Hi,
thanks for the post. trying to do the same in 2016 🙂
unfortunately receiver that you’ve mentioned is no longer available.
do you think this one is similar?
http://www.ebay.com/itm/361659270540?euid=867a76eaf0534795bc38330b4a478491&bu=43840341784&cp=1&sojTags=bu=bu
or this one
http://www.ebay.com/itm/142009789133?euid=e5cafa2c21114dd0a555e3803641c64d&bu=43840341784&cp=1&sojTags=bu=bu
Cheers.
I think the second one, the first has built in rechargeable battery which isn’t necessary. It should do exactly the same job as the one i used.
Will need to power it with 5V and tap in to the USB traces internally, or use a cut off USB cable.
Cheers, I’ll give it a try and post the results.
The DC to DC Convertor – how do you know how much voltage / ampage it is outputting as on the description for the bluetooth receiver it advises that it requires 5v @ 1000ma. Presume you keep changing the bronze screw and use your multimeter to measure the output ?
Adjust the screw and measure the output until reaches 5V.
The converter i used is rated at 2A output load current.